


The Messenger integration routes all incoming messages from your Facebook page to your AnswerForce inbox. Your AnswerForce receptionists will respond instantly.
Follow these easy steps to centralize all your chats in one place to support customers and increase sales:
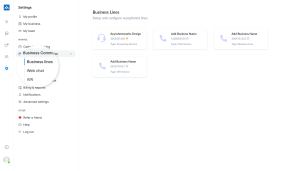
1. In your AnswerForce App. go to Settings, click Business Communication, and select Web chat
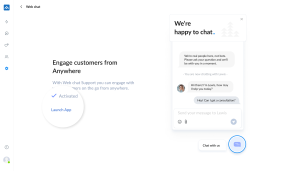
2. Once activated, select Launch App to open your chat dashboard
3. In your chat dashboard, go to Settings. click Manage Widgets.

4. Select your widget.

5. Click Integration, then click on Messenger.


6. Click Integrate.

7. In the next screen, with the message chosen as the default setup trigger. Click continue.

8. Sign in to your Facebook account.

9. Click Edit Settings.

10. Select the Facebook page you’d like to use with ChatSupport, then click Next.


11. Allow access to ChatSupport by clicking the slider button, then click Done


Under the Action tab, choose Message, and ensure to check the two-way sync to allow two-way communication.
1. Click Continue.

2. Under the Setup tab, select Text Message from the drop-down menu to map your live chat and Messenger together.


3. Next, click the messenger to the ChatSupport tab. Here, click the drop-down menu, and choose Text Message to map your Messenger and live chat together.


You have successfully integrated your live chat and Messenger!