


Using live chat is a great way to convert customers in real-time through your website. Its setup process is very straightforward and you’ll begin seeing the benefits as soon as its running. This guide will provide you with installing AnswerForce live chat on your website.
Before you use this guide you’ll need to activate live chat on your AnswerForce account.
If you have a WordPress website you can install chat using the AnswerForce live chat plugin.
5 step guide
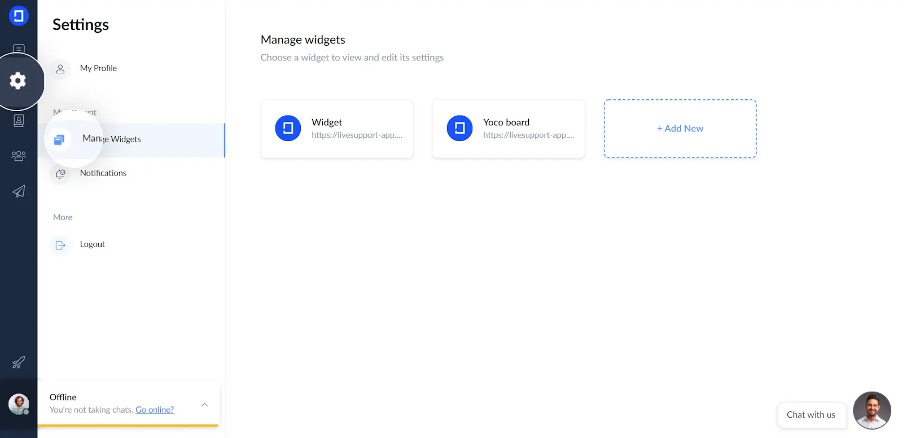
1. You’ll need to open up your ChatSupport account first. Head to settings and manage widgets. (A widget is a specific icon or button that allows customers to interact with you online)
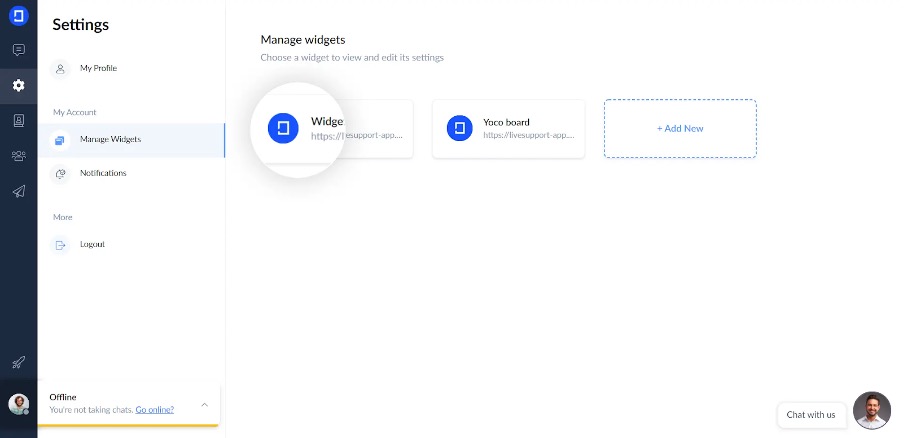
2. Now click the widget tab
3. You’ll be taken to the live chat installation page where you’ll need to click copy code.
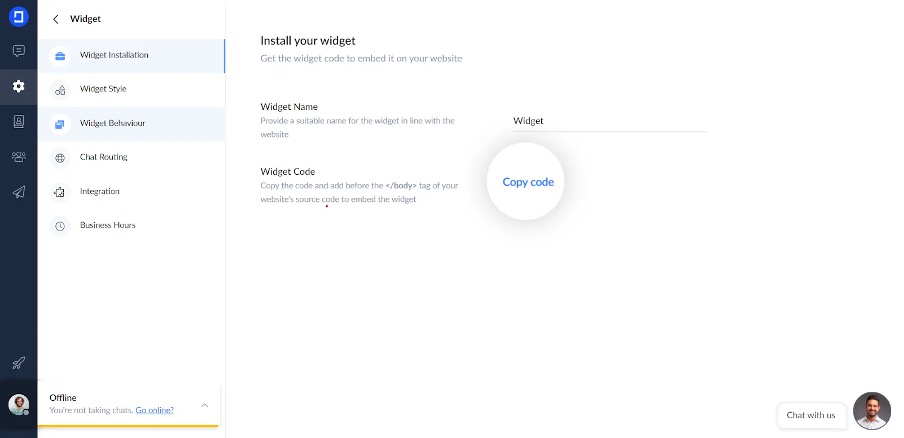
4. This bit is important. You’ll need to head add the code to the back end of your website. To do this, paste the code you copied earlier into the </body> tag of your websites source code.
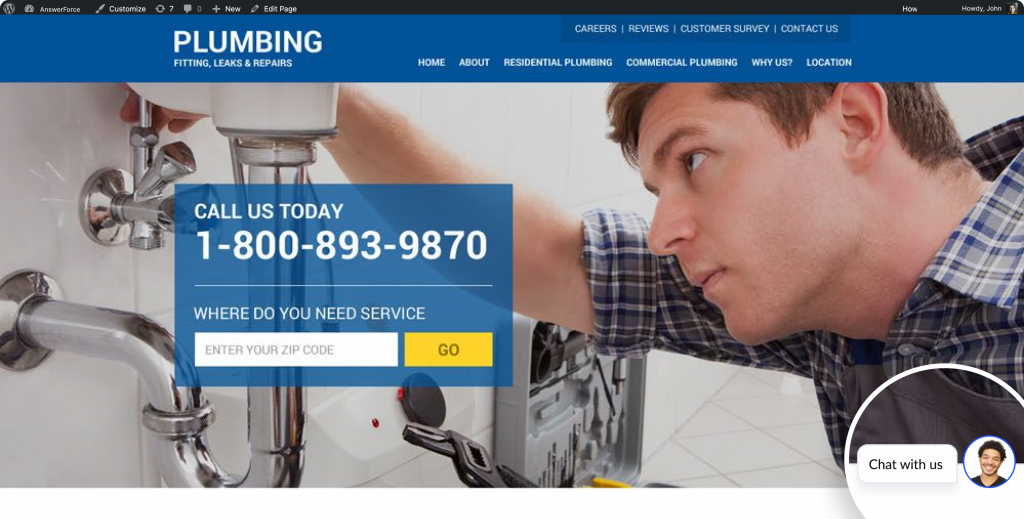
5. Finally, head to your website and check if live chat is working. You may have to click refresh a couple of times.
That’s you ready
With live chat services, you’ll be ready to talk to customers however they please. If you’re looking to make the most of live chat for your website see our live chat guide for service businesses.
If you need help installing AnswerForce live chat, please call our ChatSupport team at 800-830-6570. We’re happy to help.