


Using a live chat feature is a great way to convert customers in real-time through your website. Its setup process is very straightforward and you’ll begin seeing the benefits as soon as it’s running.
This guide will provide you with the simple steps to adding live chat to your website through our WordPress Plugin (you can also install live chat using code, if you prefer).
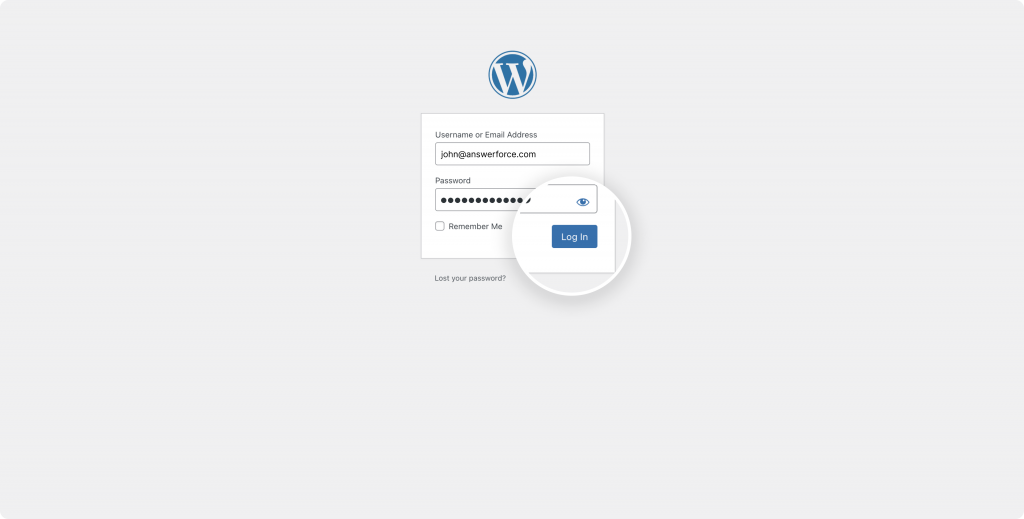
Before you use this guide you’ll need to activate live chat on your AnswerForce account.
6 step guide to live chat
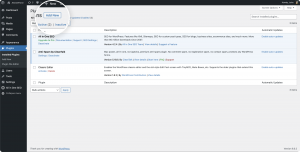
1. Log into your WordPress account. Then select Plugins on the lefthand menu bar. (Plugins are tech speak for a software component. Like the drill bit for a power tool. The ‘drill bit’ is the ‘plugin’).

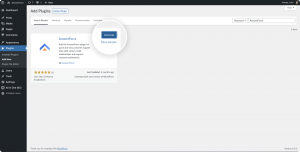
2. Click ‘Add New’ at the top of the page. Then search AnswerForce on the right side search bar.
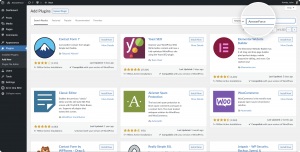
If you prefer to upload your Plugins, you can download the AnswerForce Plugin on WordPress.org.
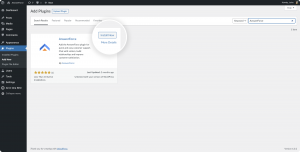
3. Find AnswerForce, install, and activate the plugin.
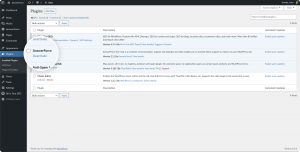
4. AnswerForce will now appear in the plugin section of WordPress. AnswerForce will also appear on its own in the left-hand menu bar.
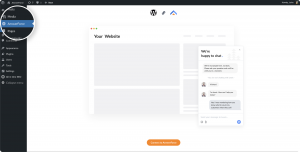
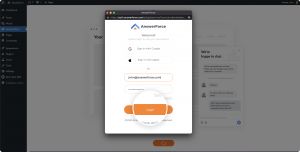
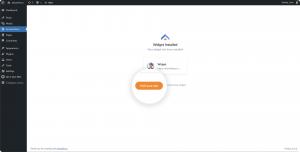
5. Finally, to activate live chat, you’ll need to click activate from AnswerForce tab on the left-hand menu bar. This will ask you to log in to your AnswerForce account.
6. Once logged in, click on visit your site to see your live chat feature in action.

Bonus features
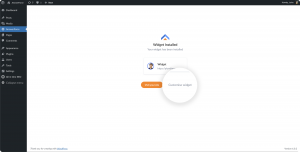
You can customize the live chat feature by going to AnswerForce section on WordPress and clicking customize
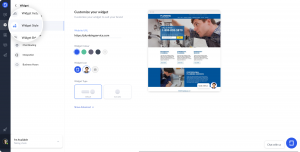
From here you can pick colours, styles of live chat icon and photo options. Anything to suit your company’s brand style.
That’s you ready
With live chat services, you’ll be ready to talk to customers however they please. If you’re looking to make the most of live chat for your website see our live chat guide for service businesses.
If you get stuck on any of the install steps please call our live chat support team at 800-830-6570. We’re happy to help.