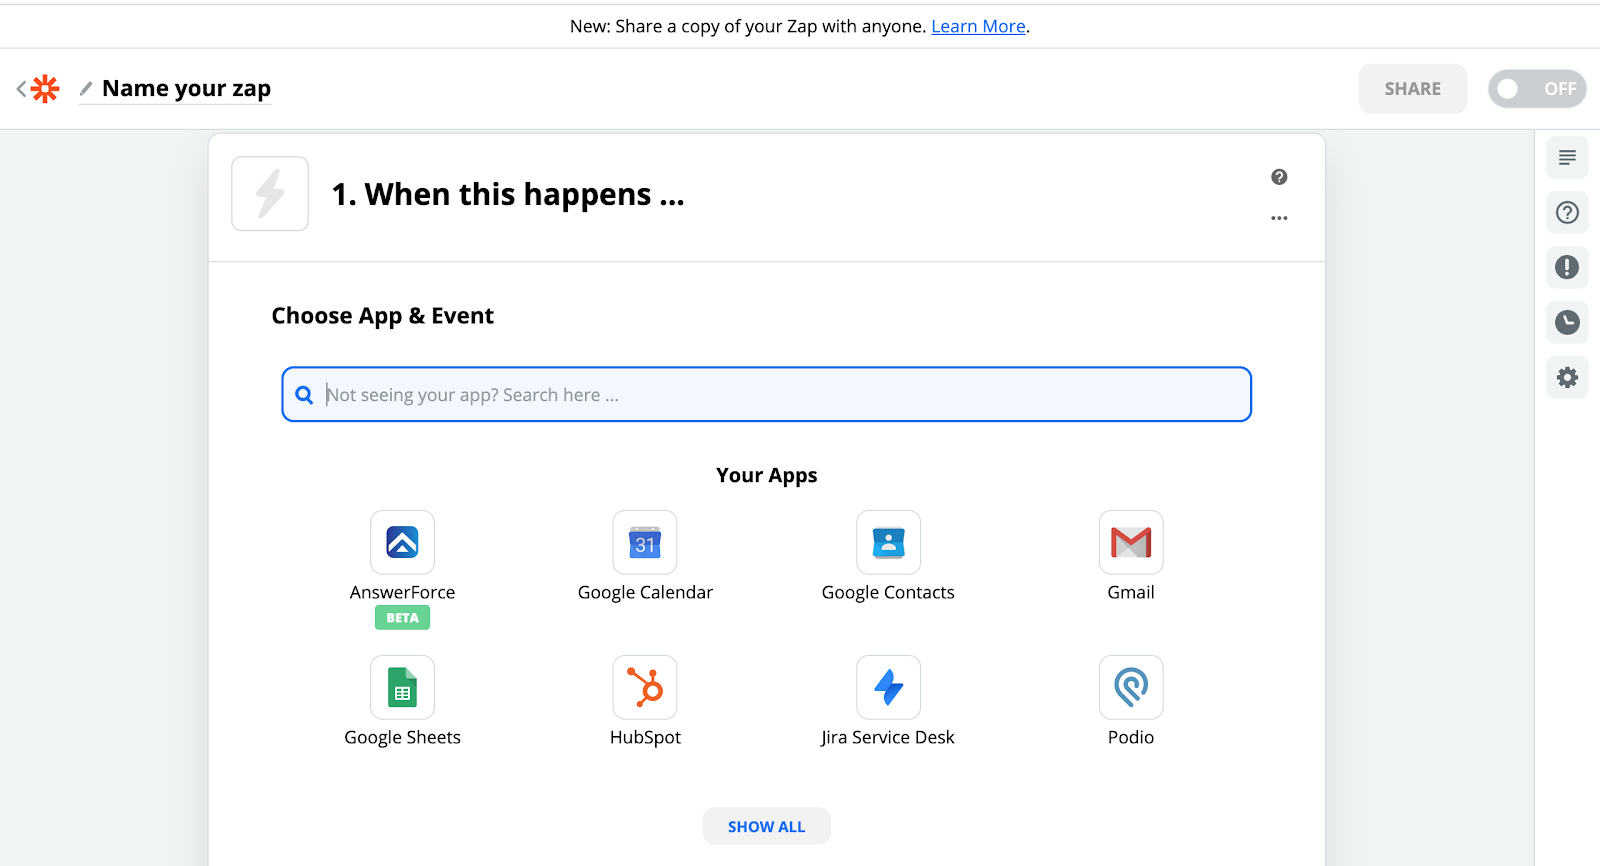
Step 1
In your Zapier account, click on ‘Make a Zap’. Then, choose AnswerForce.
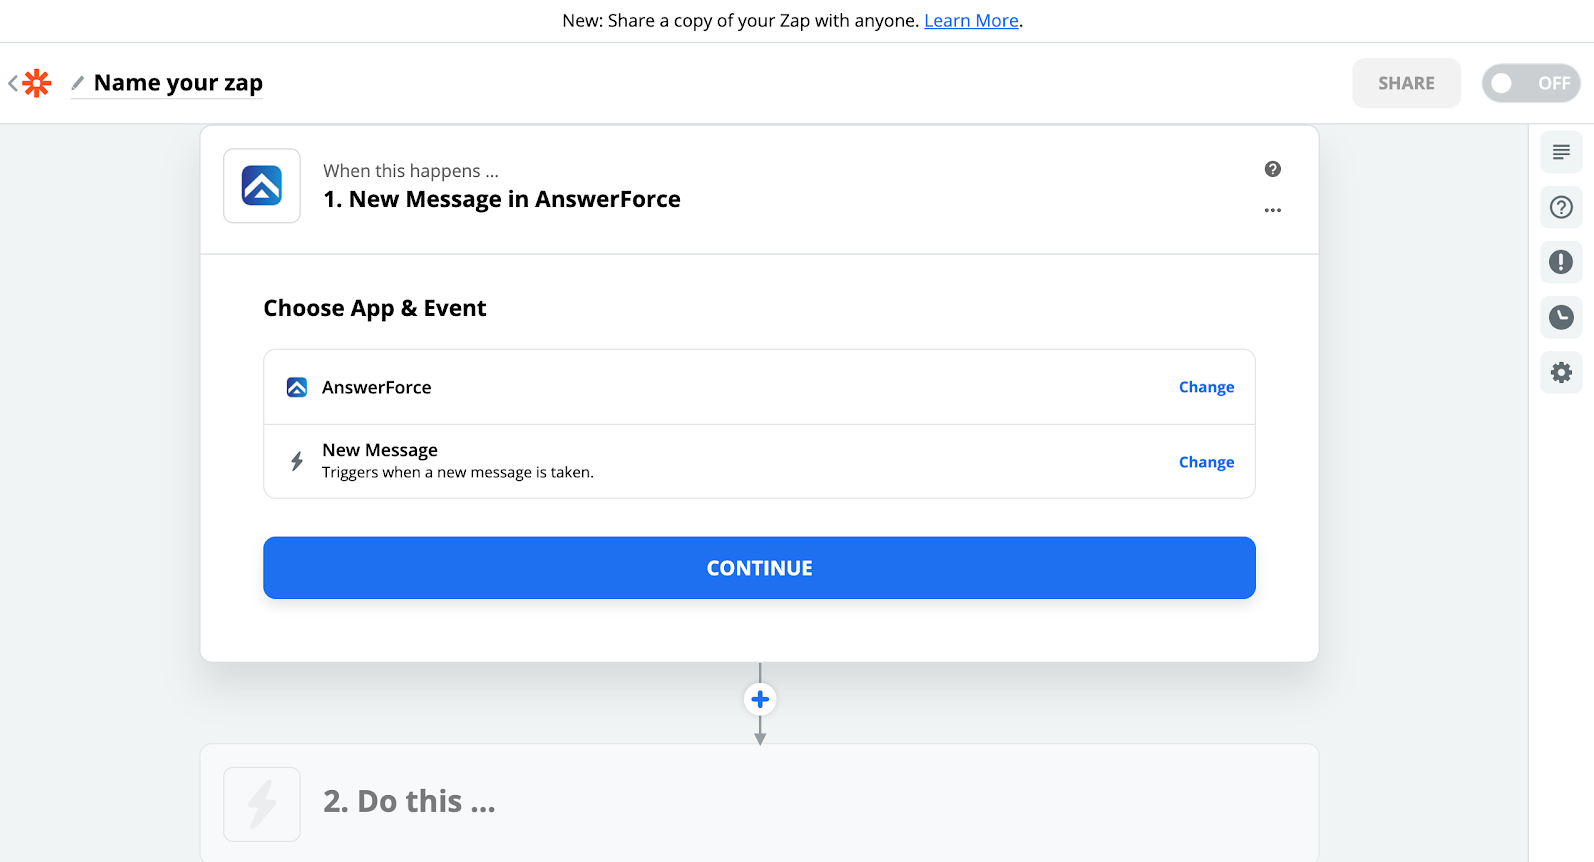
Step 2
Select ‘New Message’ as a module. Click ‘Continue’.
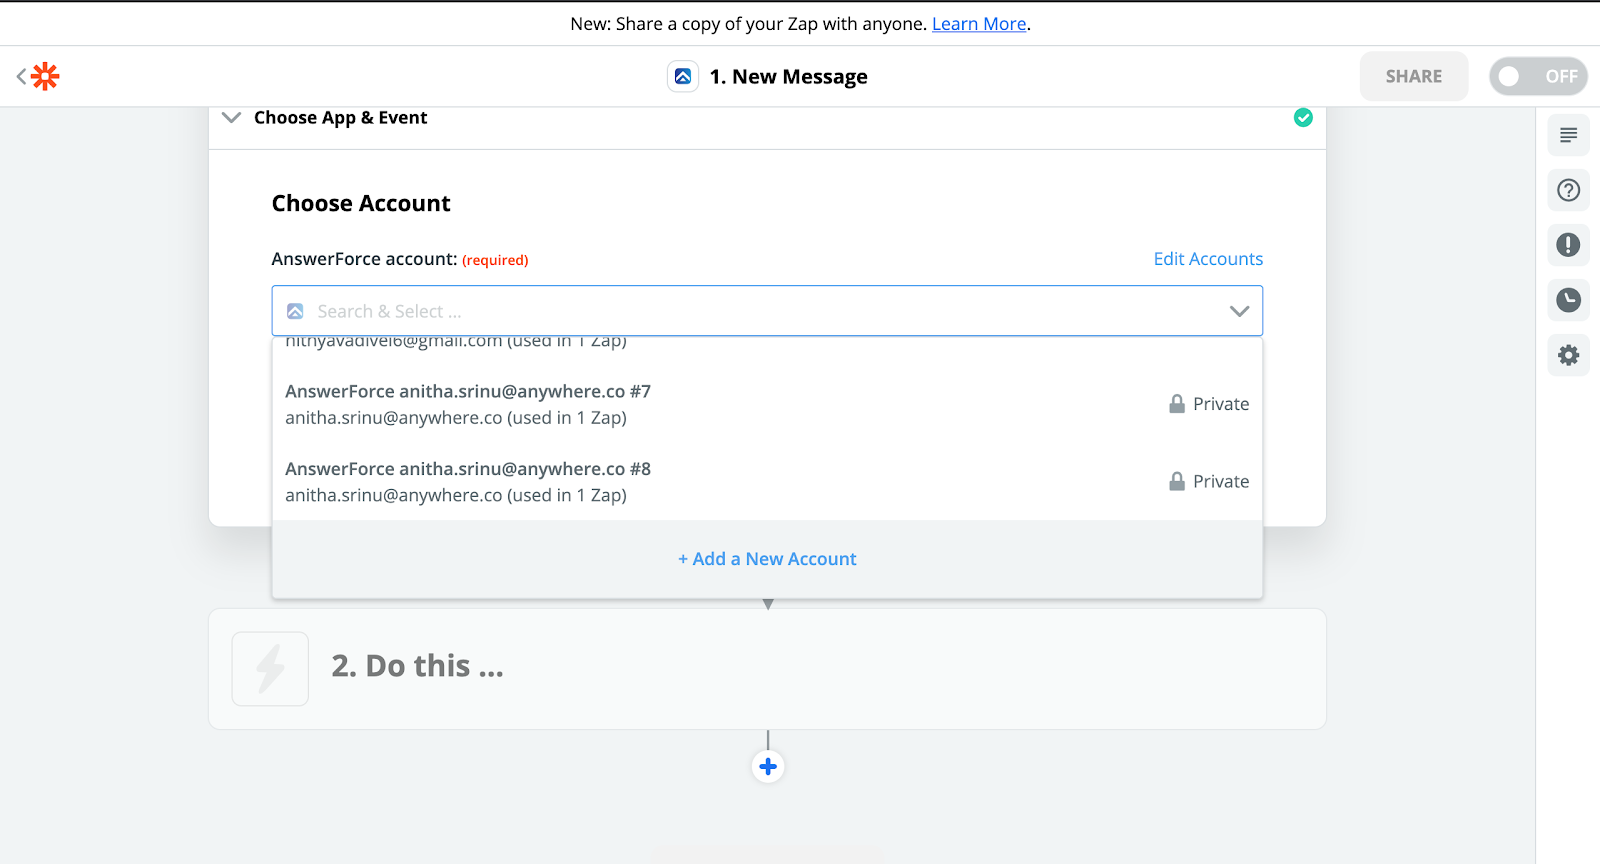
Step 3
Select your existing account from the dropdown. If you don’t yet have an AnswerForce account, click on ‘Add a new account’ to connect to a new account.
Step 4
Within the AnswerForce app, if you click on ‘add new account’ you will be taken to this screen. Add your AnswerForce credentials. Your new account will be redirected to the Zapier page. The account should now appear in Zapier.

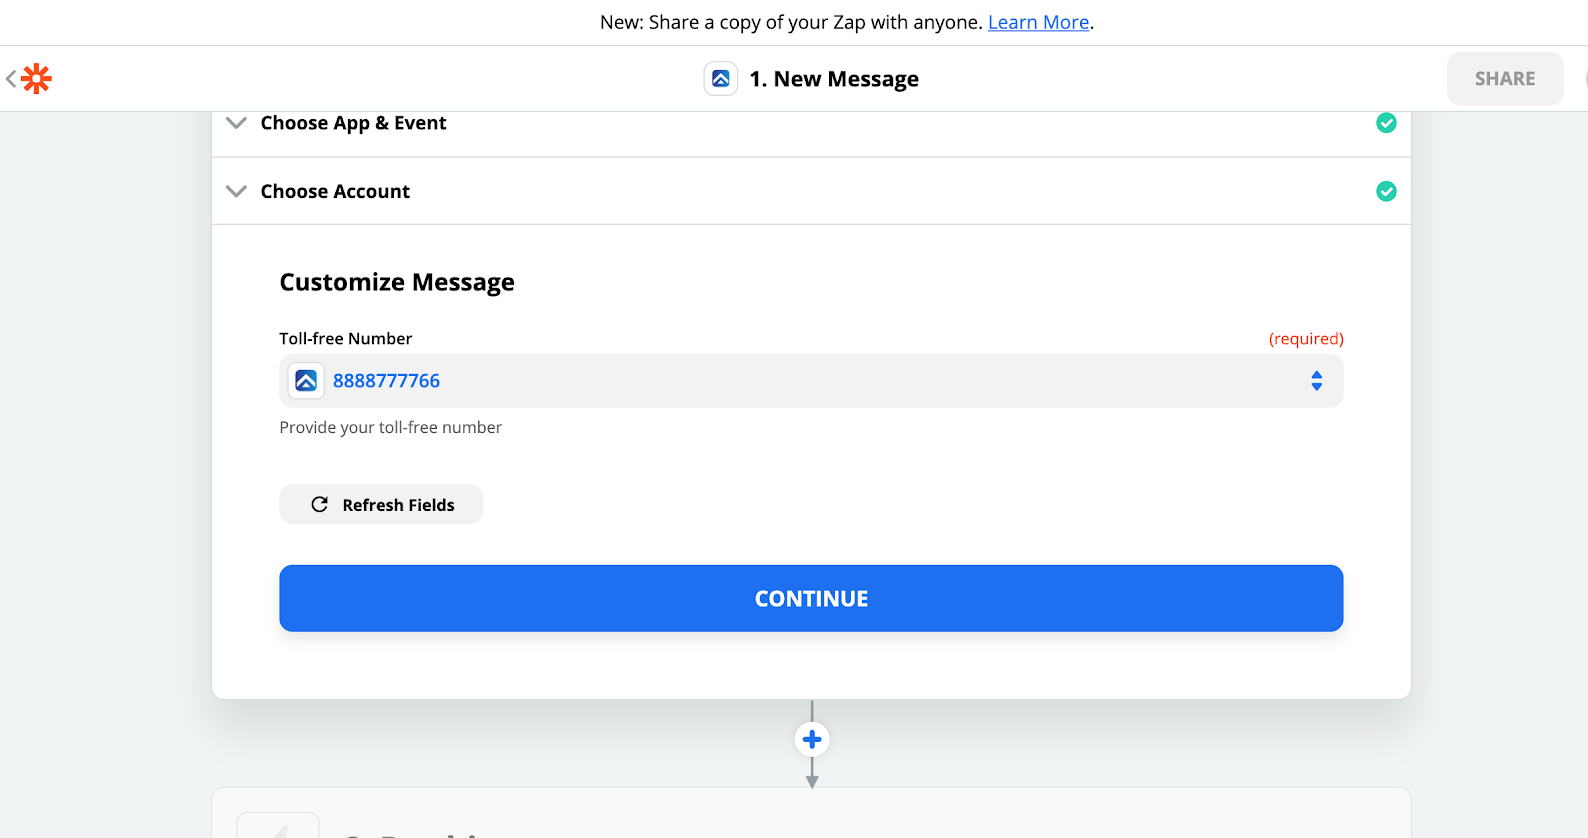
Step 5
Enter your toll-free number, or choose an existing account number. Then click ‘Continue’.
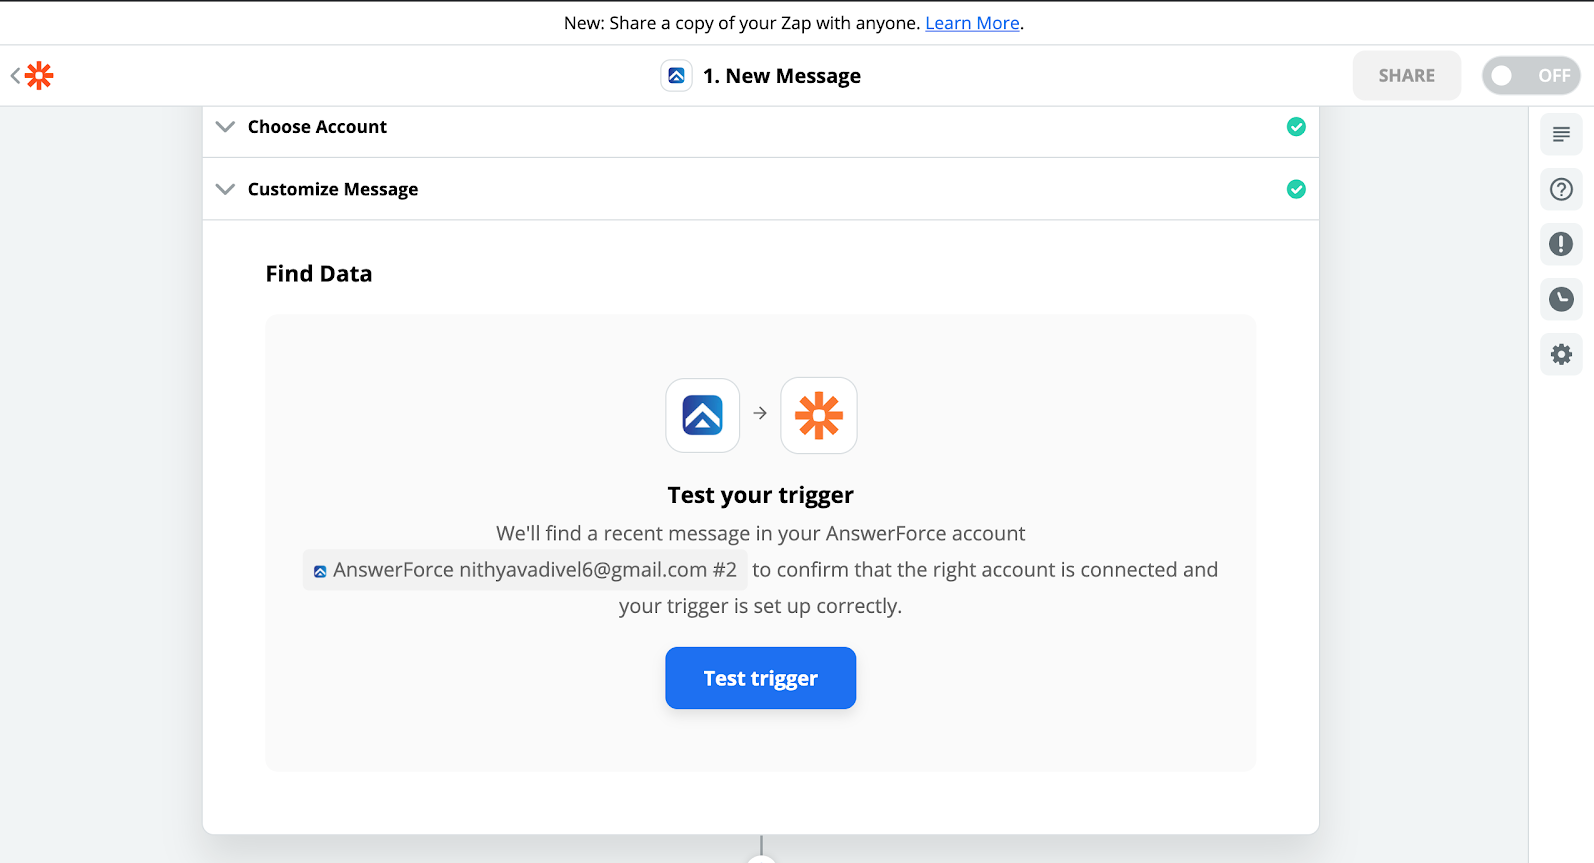
Step 6
If you are creating a new account, you will then click ‘Test trigger’.
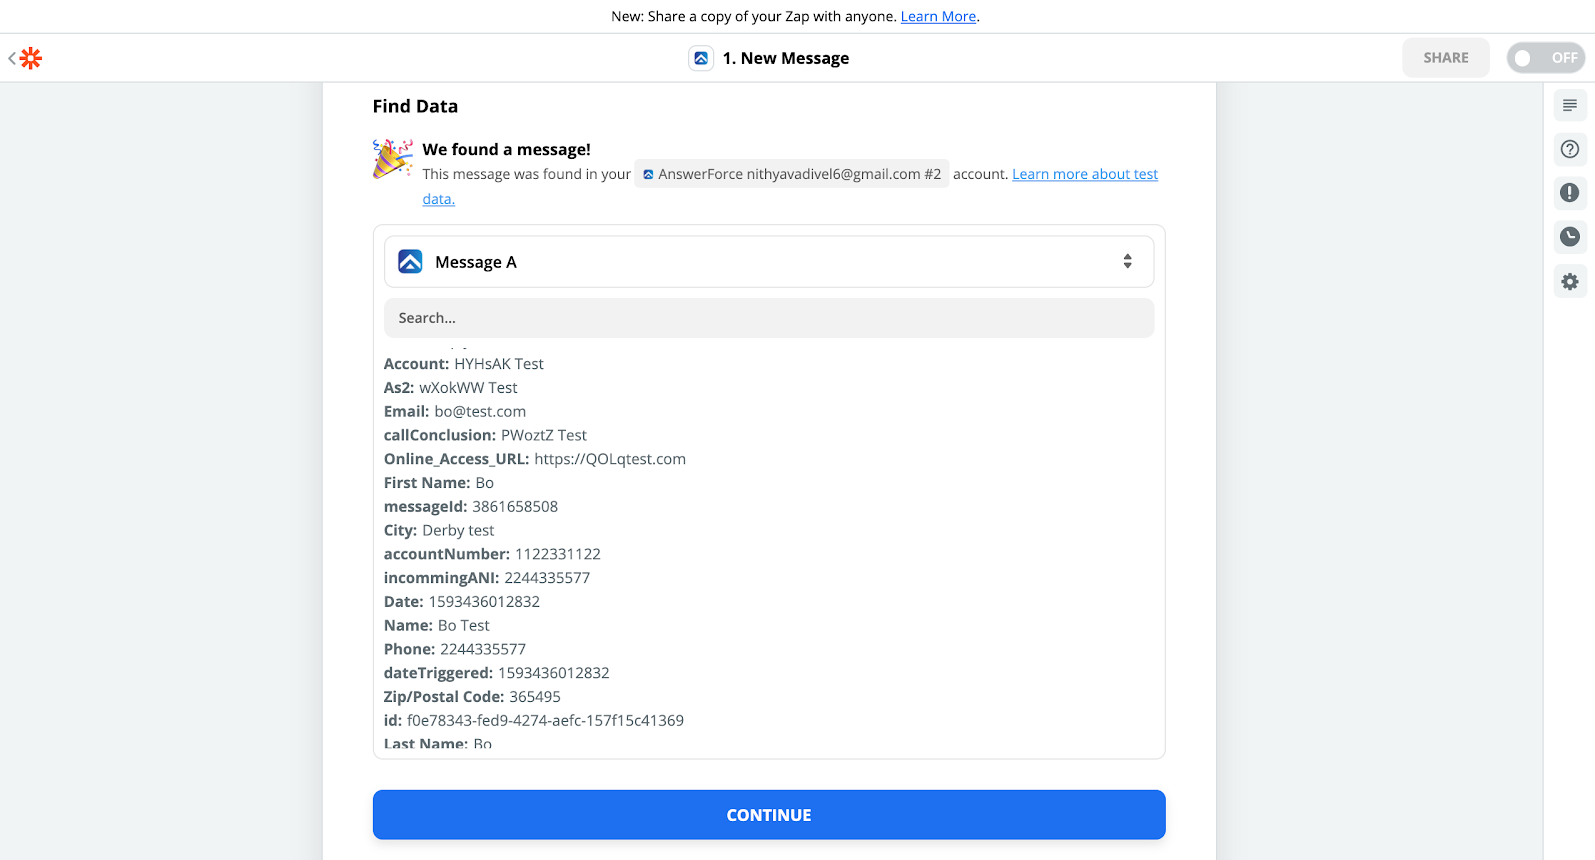
Step 7
When you see test results, click on ‘Continue’.
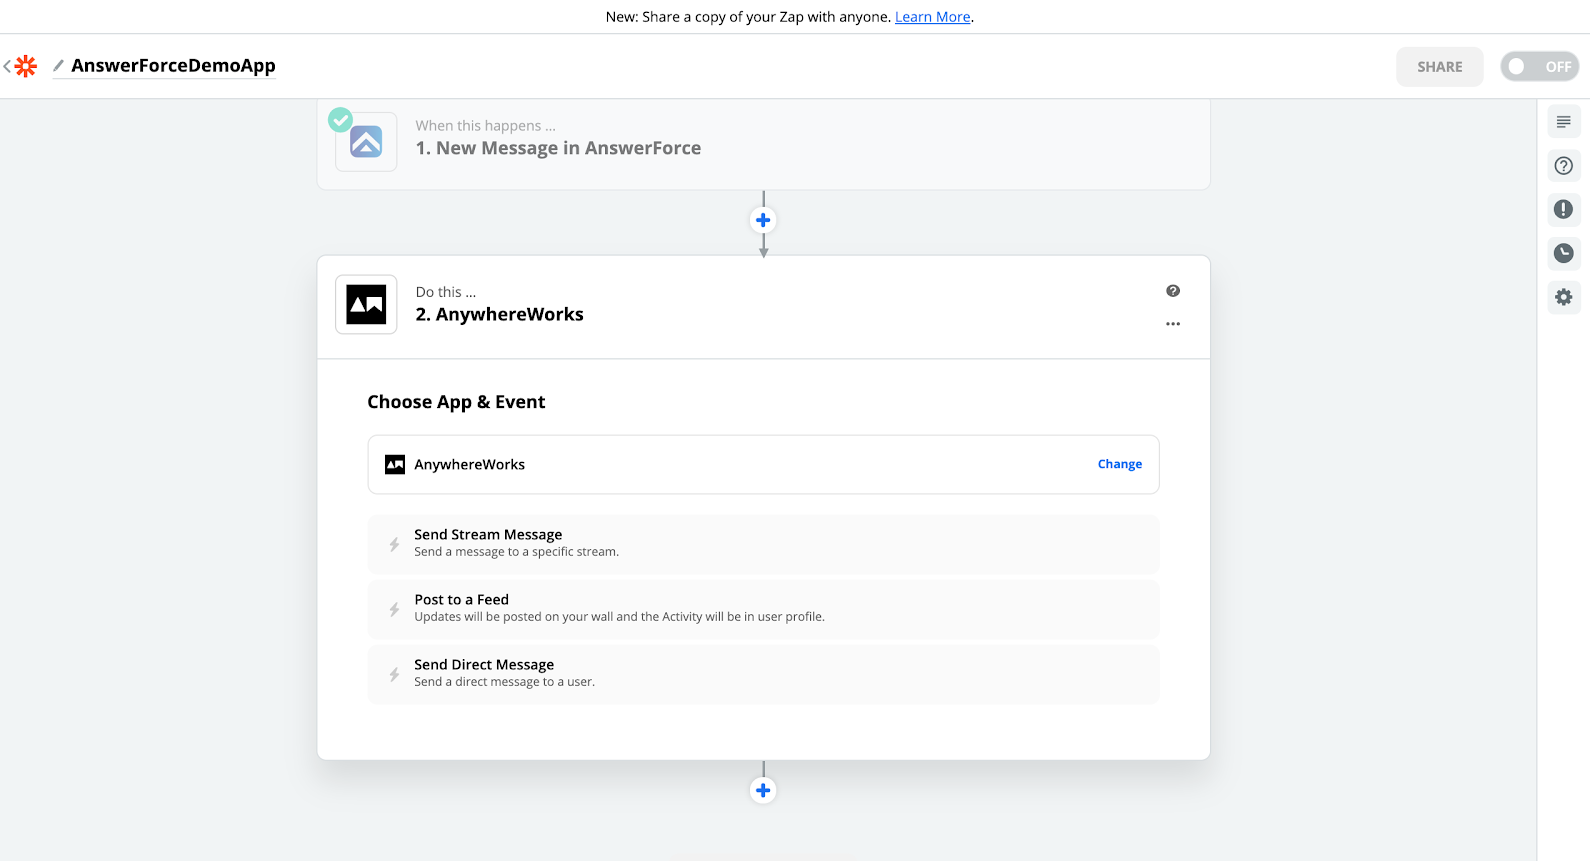
Step 8
Choose any one of the listed listener apps. For reference, we have chosen AnywhereWorks. Choose any one of the modules or actions from that particular app.
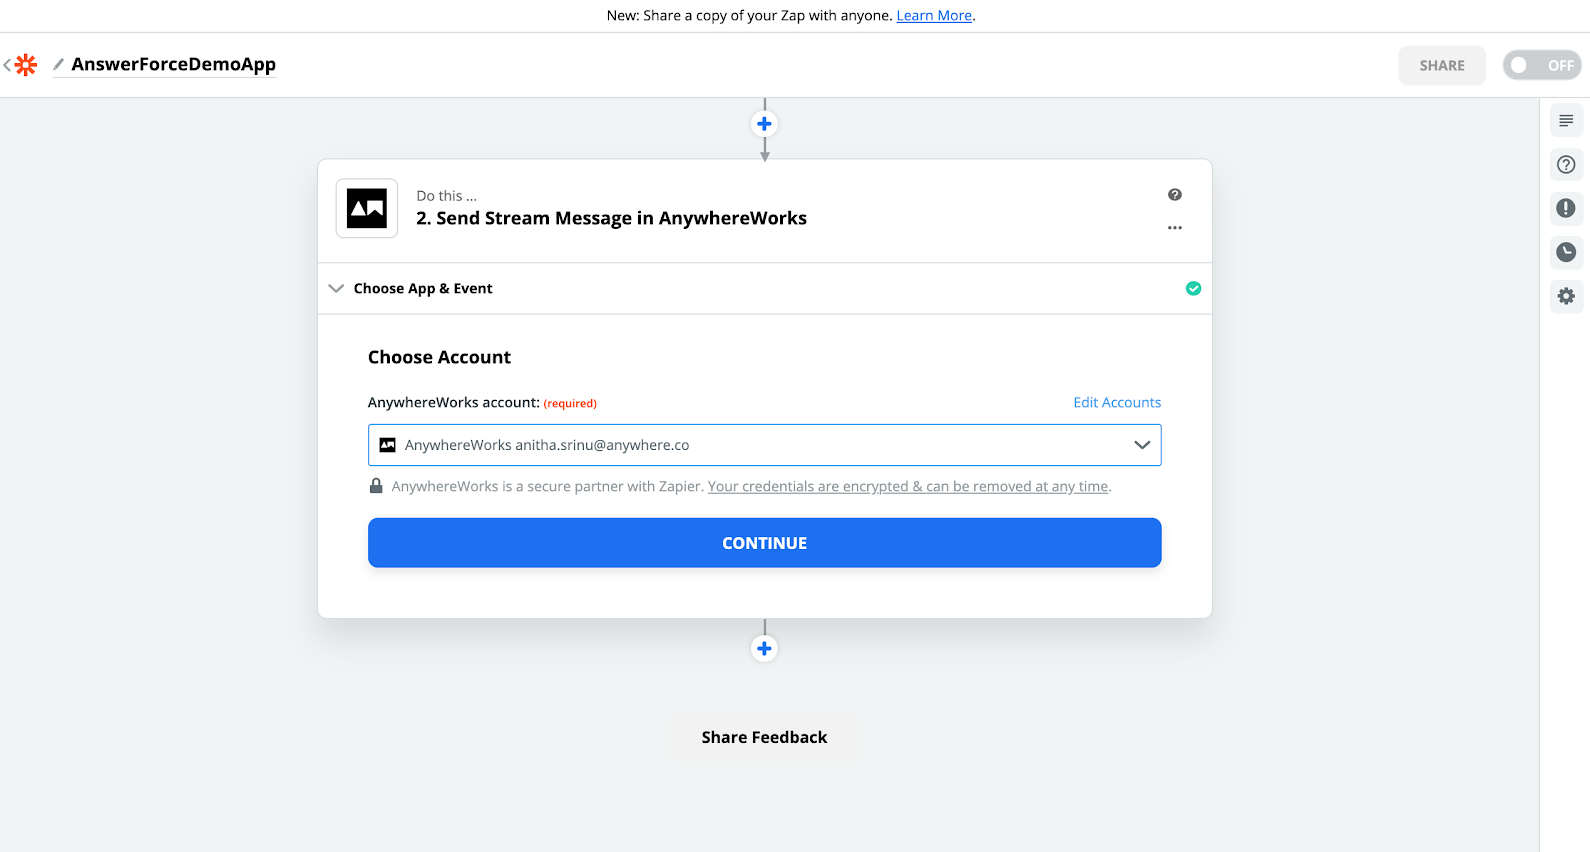
Step 9
Choose an existing account of the target app.
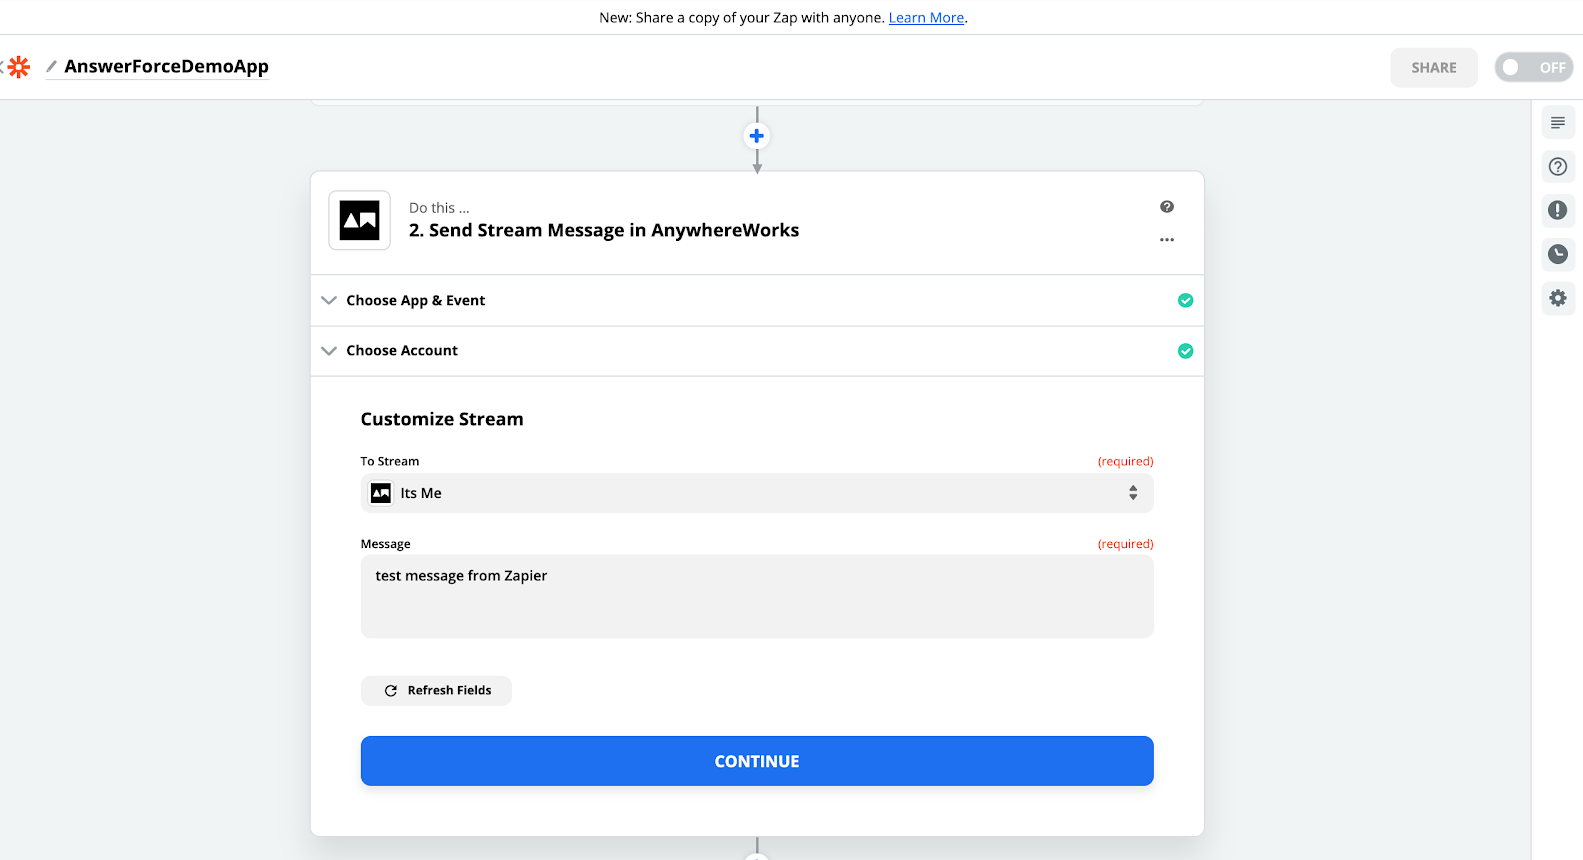
Step 10
Once done, fill in the field mapping section according to your requirements.
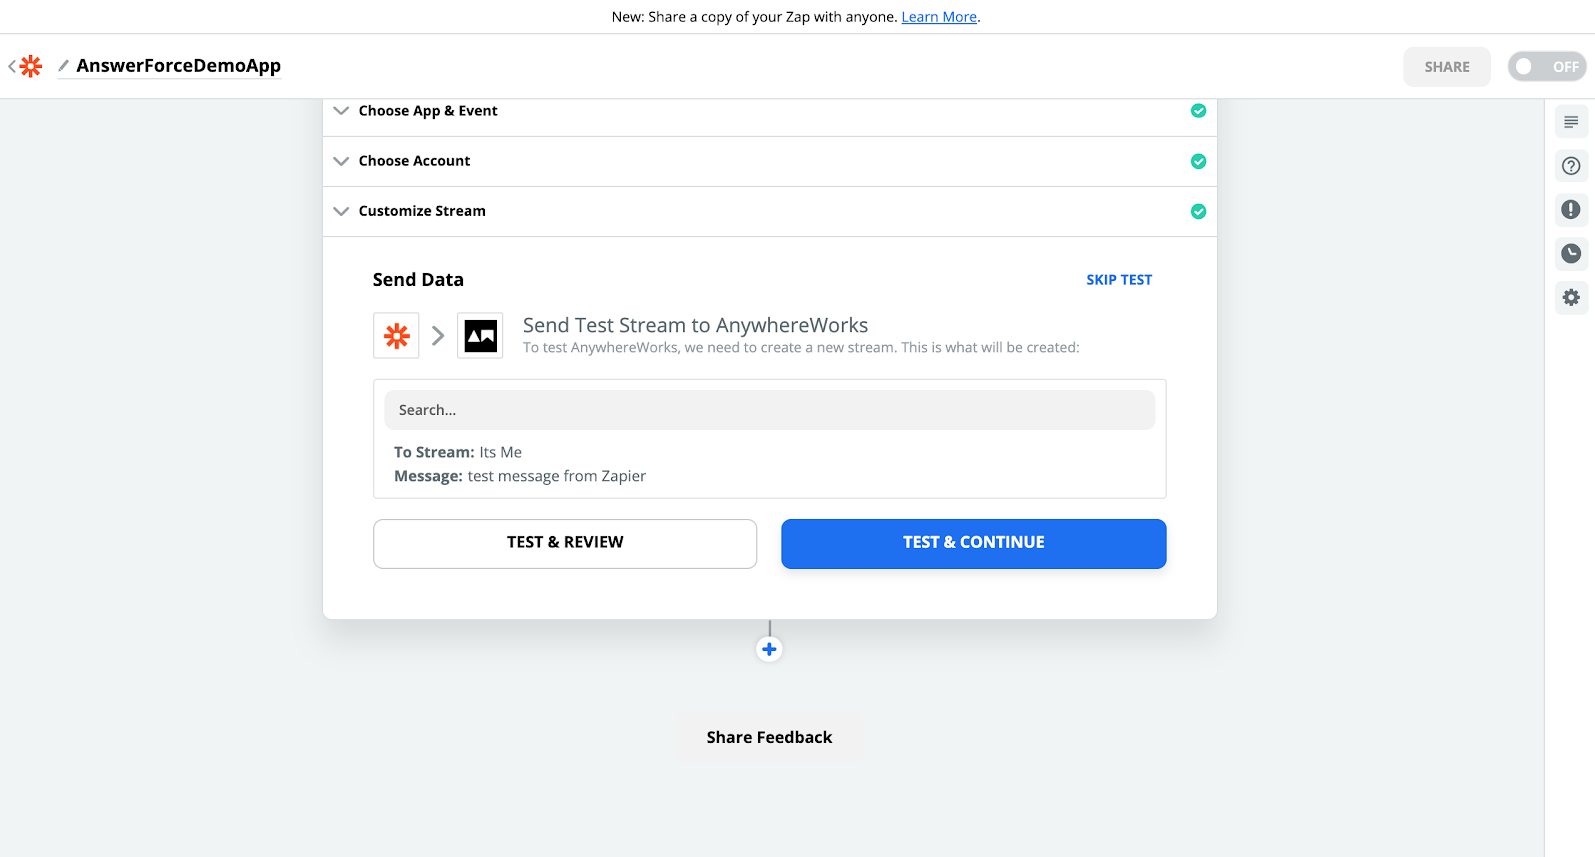
Step 11
Click on ‘Test and continue’.
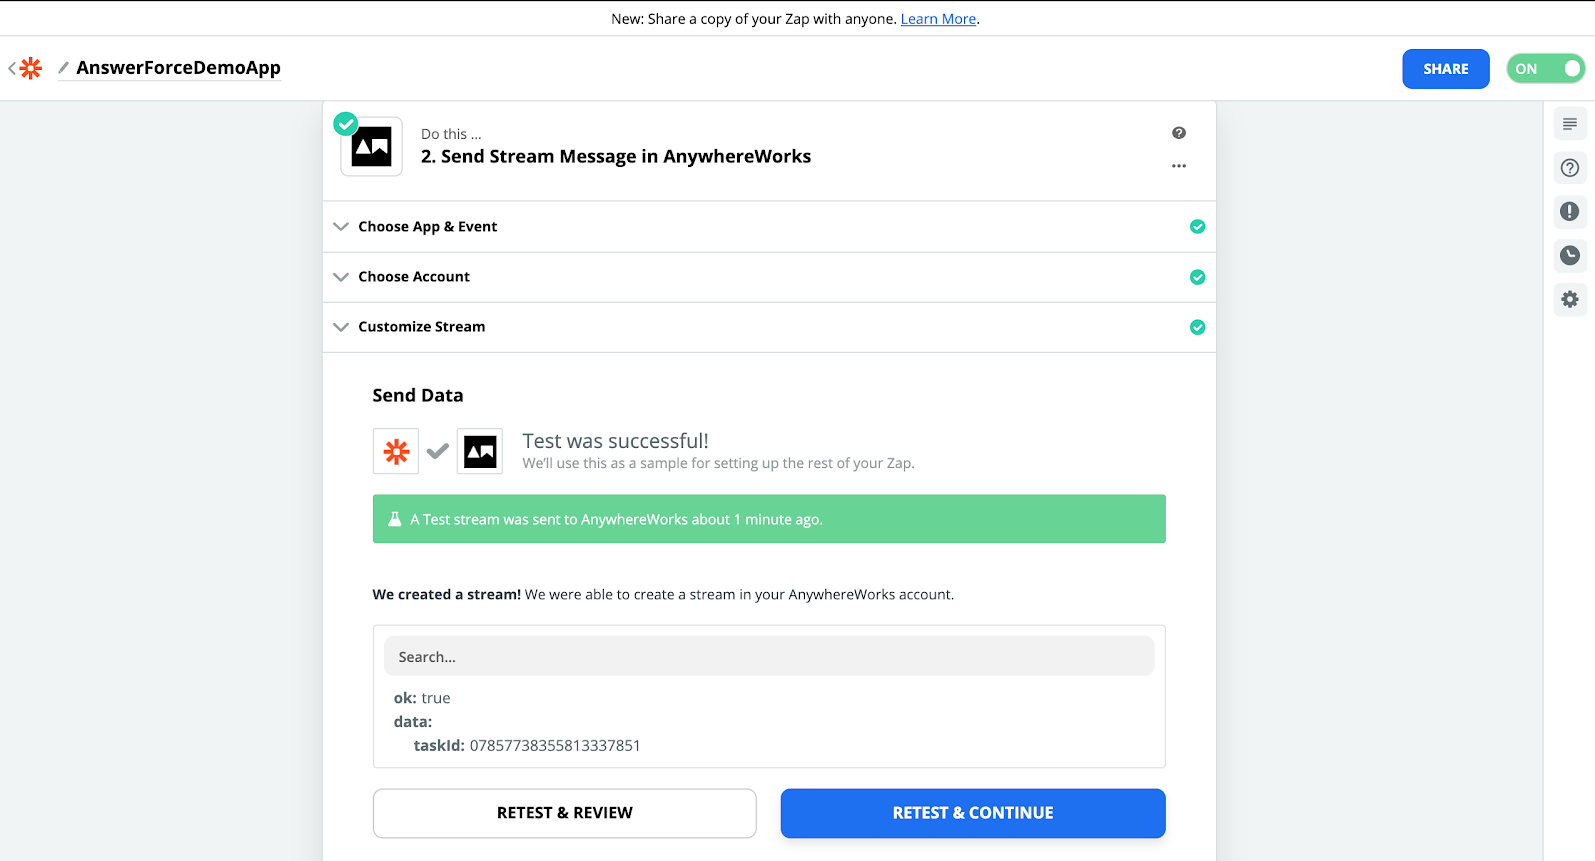
Step 12
You’ll see test results, like this example:
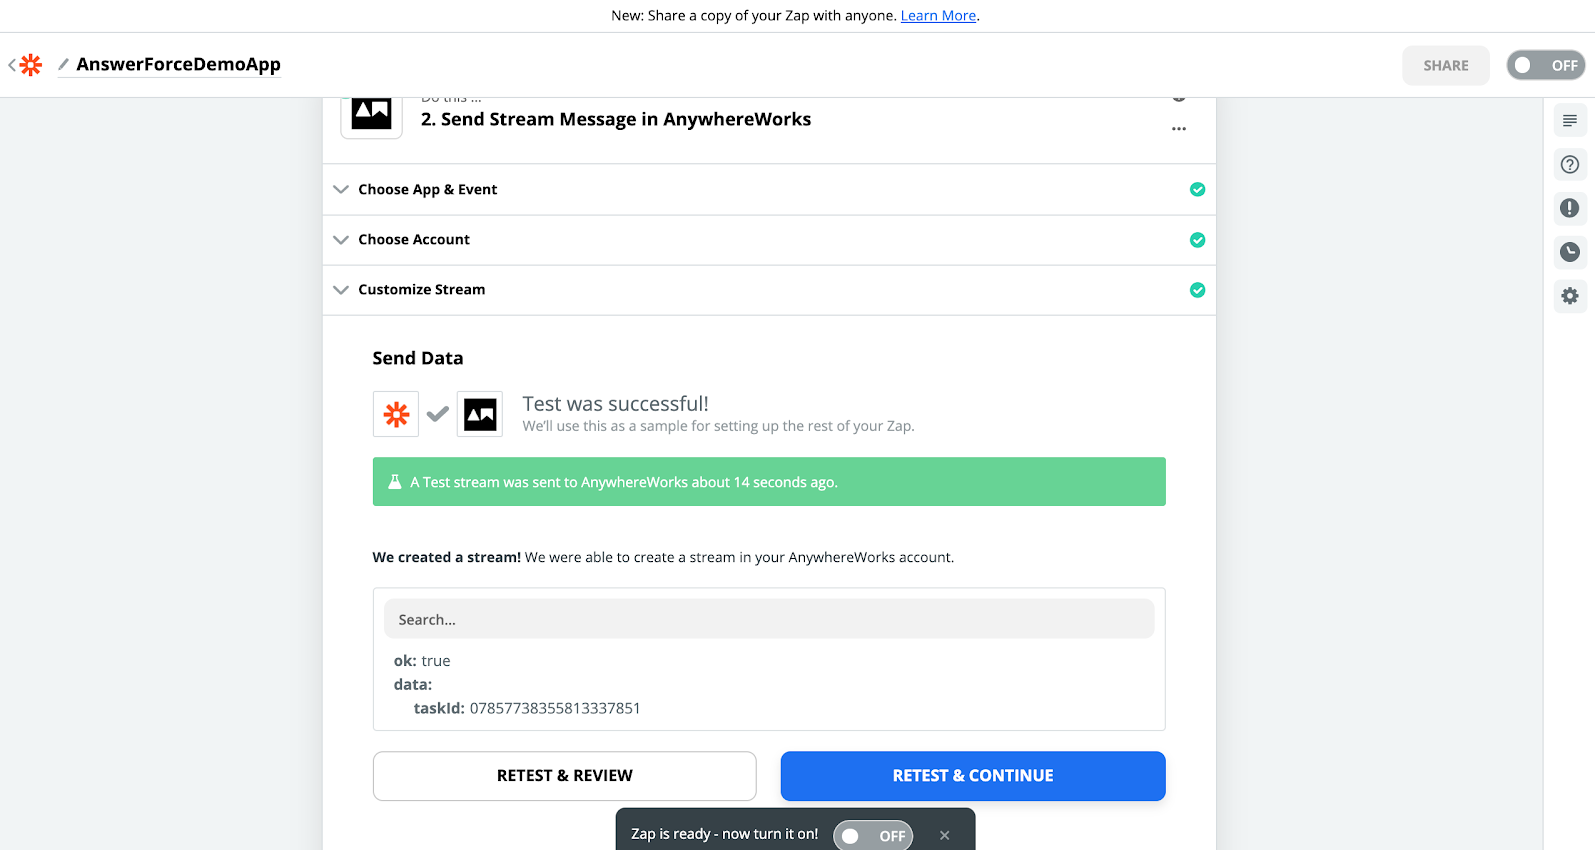
Step 13
You can now turn on the Zap from the right-hand top corner.